
Anúncios
Photography Tips for Beginners Using Mobile Devices
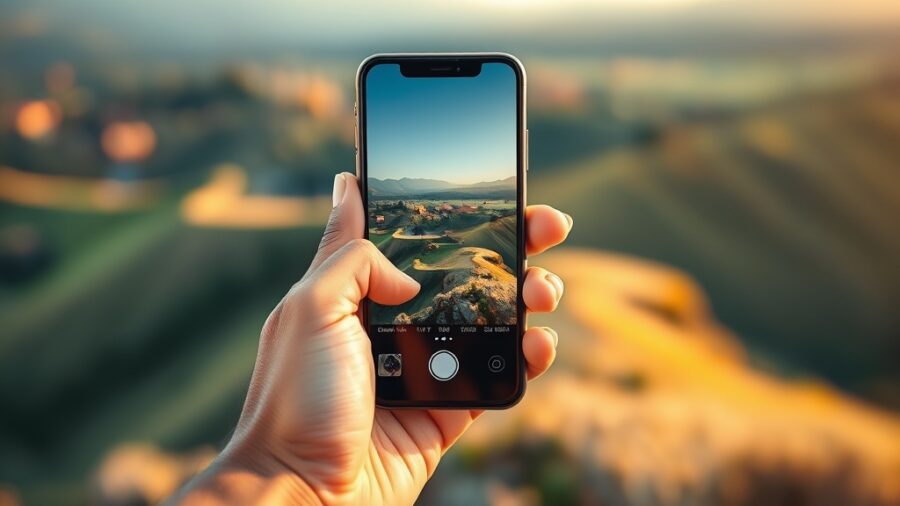
In today’s digital age, mobile photography has transformed the way we capture moments. With the rise of smartphones equipped with advanced camera technology, anyone can become a photographer. This article will delve into essential photography tips for beginners mobile users, guiding you through the intricacies of mobile photography, from understanding camera settings to composition techniques that create stunning visuals.
Whether you’re looking to document your travels, capture family moments, or simply express your creativity, mastering mobile photography opens up a world of possibilities. As we explore various aspects of mobile photography, you will gain insights into practical techniques and tools that can elevate your photography skills. By the end of this article, you will be equipped with the knowledge to take breathtaking photos using just your smartphone.
Anúncios
We will cover key topics that include understanding your mobile camera settings, composition techniques for stunning photos, the importance of lighting, and effective editing methods. Additionally, we will highlight common mistakes to avoid, ensuring that you can confidently embark on your mobile photography journey. Let’s get started!
Introduction to Mobile Photography
The Evolution of Mobile Photography
Mobile photography has come a long way since the first camera phones were introduced in the early 2000s. Initially, mobile cameras were limited in resolution and quality, but advancements in technology have completely revolutionized this field. As of 2023, many smartphones feature cameras with multiple lenses, optical zoom, and advanced image processing capabilities, allowing users to capture high-quality images that can rival traditional cameras.
For instance, the iPhone 14 and Samsung Galaxy S22 both offer impressive photographic features, including night mode, portrait mode, and 4K video recording. These innovations enable even beginners to take stunning photos with ease. With the right tips and techniques, anyone can harness the power of their mobile device to create captivating images.
The Accessibility of Mobile Photography
One of the most significant advantages of mobile photography is its accessibility. Almost everyone owns a smartphone, making it easy to photograph everyday moments. Unlike traditional photography, which often requires extensive equipment and knowledge, mobile photography allows users to experiment and learn on the go.
Furthermore, social media platforms like Instagram and TikTok have encouraged a culture of sharing mobile photography, inspiring users to develop their skills and showcase their work. This democratization of photography has led to a new generation of creative individuals who use their smartphones as a canvas for artistic expression.
Understanding Your Mobile Camera Settings
Exploring Camera Modes
To maximize your mobile photography experience, it’s essential to familiarize yourself with your smartphone’s camera settings. Most smartphones come equipped with various camera modes tailored for different scenarios. Common modes include portrait mode for capturing people with a blurred background, night mode for low-light photography, and pro mode for manual adjustments.
For example, using portrait mode on a smartphone like the Google Pixel 7 can create a professional-looking depth of field, making your subject stand out against a beautifully blurred background. Understanding these modes will help you choose the right settings for each photographic situation, resulting in more impactful images.
Adjusting Exposure and Focus
Another crucial aspect of mobile photography is learning to adjust exposure and focus manually. Most smartphones allow you to tap on the screen to set focus on your subject. Additionally, you can often swipe up or down to control exposure levels. This feature is particularly useful in challenging lighting conditions, where automatic settings may not deliver the desired outcome.
For example, when photographing a sunset, you may need to decrease exposure to prevent the image from appearing washed out. By mastering these adjustments, you can take full control of your mobile photography, ensuring that your images reflect your creative vision.
Composition Techniques for Stunning Photos
The Rule of Thirds
One of the fundamental principles of photography composition is the Rule of Thirds. This technique involves dividing your frame into nine equal parts using two horizontal and two vertical lines. The idea is to place your subject along these lines or at their intersections, creating a more balanced and visually appealing image.
For instance, when capturing a landscape, position the horizon along the top or bottom third of the frame rather than in the center. This simple adjustment can lead to more dynamic and engaging photographs. Many mobile camera apps even provide a grid overlay to help you apply the Rule of Thirds as you compose your shot.
Leading Lines and Framing
Using leading lines and natural framing can also enhance your mobile photography. Leading lines guide the viewer’s eye toward the subject, creating depth and perspective. These lines can be roads, paths, or even architectural elements that draw attention to the focal point of your image.
Natural framing involves using elements within the scene to frame your subject, such as tree branches or windows. This technique adds context and interest to your photos. By incorporating these compositional strategies, you can transform ordinary shots into extraordinary works of art.
Lighting: The Key to Great Mobile Photography
Natural Light vs. Artificial Light
Lighting plays a pivotal role in photography, and understanding how to utilize both natural and artificial light can significantly impact your results. Natural light, particularly during the golden hour (shortly after sunrise or before sunset), provides a warm and soft glow that enhances the beauty of your subject. This is often considered the best time for outdoor photography.
On the other hand, artificial light sources, such as lamps or streetlights, can create unique effects. Experimenting with different lighting conditions will help you develop an eye for what works best in each situation. For example, using a lamp to create dramatic shadows can add depth to a portrait shot.
Understanding White Balance
White balance is another essential factor in mobile photography. It refers to the adjustment of colors to ensure that white objects appear white in photographs. Different lighting conditions can create color casts, making images look warm or cool. Most smartphones allow you to adjust white balance settings manually, or you can opt for automatic adjustments.
For instance, if you’re photographing indoors under tungsten light, the image may have an orange hue. Adjusting the white balance to the tungsten setting can help correct this issue. By mastering white balance, you can achieve more accurate and natural-looking colors in your photos.
Editing Your Photos: Apps and Techniques
Choosing the Right Editing Apps
Editing is an integral part of the mobile photography process, allowing you to enhance your images and correct any imperfections. There are numerous editing apps available, each with unique features and capabilities. Some popular options include Adobe Lightroom Mobile, Snapseed, and VSCO.
For beginners, Snapseed is particularly user-friendly, offering a range of tools like filters, brushes, and adjustment sliders. You can easily enhance exposure, contrast, and saturation, allowing your creativity to shine through. Meanwhile, Lightroom Mobile provides advanced editing features for those looking to delve deeper into photo manipulation.
Basic Editing Techniques
When editing photos, consider starting with basic adjustments such as cropping, exposure correction, and color enhancement. Cropping can help focus attention on your subject, while adjusting exposure can brighten or darken your image based on your artistic vision.
Additionally, experimenting with filters and presets can transform the mood of your photos. However, be cautious not to over-edit, as this can lead to unnatural results. Aim for a balanced approach that enhances your image while maintaining its authenticity.
Common Mistakes to Avoid in Mobile Photography
Neglecting to Clean Your Lens
One common mistake beginners make is neglecting to clean their smartphone camera lens. Dust, fingerprints, and smudges can significantly impact the quality of your photos, resulting in hazy or blurry images. To avoid this, regularly clean your lens with a microfiber cloth or a lens cleaning solution.
Before taking a shot, take a moment to inspect your lens. A clean lens can make a world of difference in the clarity and sharpness of your images, allowing your photos to shine.
Overusing Filters
While filters can enhance your photos, overusing them can lead to unrealistic results. Many beginners tend to rely heavily on filters to mask imperfections, which can detract from the overall quality of the image. Instead, focus on capturing the best shot possible in-camera and use filters sparingly during the editing process.
Consider enhancing the natural colors and tones of your photo rather than applying heavy filters that alter the original image. Strive for a more authentic representation of your subject, which often resonates better with viewers.
Conclusion: Recap of Key Photography Tips
In conclusion, mobile photography offers a vast landscape of creative opportunities for beginners. By understanding your mobile camera settings, mastering composition techniques, and utilizing effective lighting, you can significantly improve your photography skills. Remember to explore editing options to enhance your images while avoiding common pitfalls like neglecting to clean your lens or overusing filters.
As you embark on your mobile photography journey, embrace experimentation and practice regularly. The key to becoming a proficient mobile photographer is to learn from each shot, refine your techniques, and develop your unique style. With dedication and the right knowledge, you can create stunning images that capture the essence of your experiences.
FAQ on Mobile Photography Tips
1. What is the best time of day for mobile photography?
The best time for mobile photography is during the golden hour, which occurs shortly after sunrise and before sunset. During this time, the light is soft and warm, creating ideal conditions for capturing stunning images.
2. How can I improve the quality of my mobile photos?
To improve the quality of your mobile photos, focus on understanding your camera settings, utilizing natural light, and practicing composition techniques like the Rule of Thirds. Regular practice will help you develop your skills over time.
3. Should I use flash on my mobile camera?
Using flash can create harsh lighting and unflattering shadows. Instead, try to rely on natural light whenever possible. If you must use flash, consider diffusing it or using it in combination with ambient light to achieve better results.
4. Are there specific apps for editing mobile photos?
Yes, there are several excellent apps for editing mobile photos, including Snapseed, Adobe Lightroom Mobile, and VSCO. These apps offer a range of tools to enhance your images, from basic adjustments to advanced editing options.
5. How can I avoid blurry photos?
To avoid blurry photos, ensure your camera is stable while shooting. Use both hands to hold your smartphone, or consider using a tripod for added stability, especially in low-light conditions.
- Master your mobile camera settings for optimal results.
- Utilize composition techniques like the Rule of Thirds.
- Experiment with natural and artificial lighting.
- Use editing apps to enhance your photos effectively.
- Avoid common mistakes such as dirty lenses and overused filters.